
English
Quick Start
This page explains how to create, upload, configure, and use a basic example of the Object Form Page JS Plugin V2.
Plugin Effect Demonstration
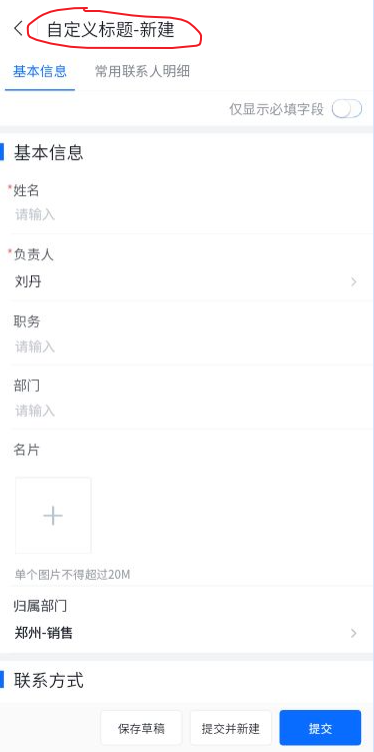
Customize the title bar text in the plugin (Click to download the sample plugin)

Create a Plugin
Directory Structure:
root:
  - index.js
  - config.json
Entry File: index.js
/** Plugin initialization function */
module.exports = function (context, pluginService, pluginParam) {
    return {
        /**
         * Enable the V2 custom plugin. Required.
         */
        enableCustomPluginV2(){
            return true;
        },

        apply() {
            return [
                {
                    event: "form.render.before",
                    functional: function (pluginExecResult, options) {
                        console.log("custom plugin: form.render.before exec")
                        let {dataGetter}=options;
                        return {
                          title: dataGetter.getSourceAction() === "edit" ? "Custom Title - Edit" : "Custom Title - Create",// process title
                        }
                    }
                },
            ]
        }
    }
}
Config File: config.json
{
	"main":"index.js"
}
Upload the Plugin
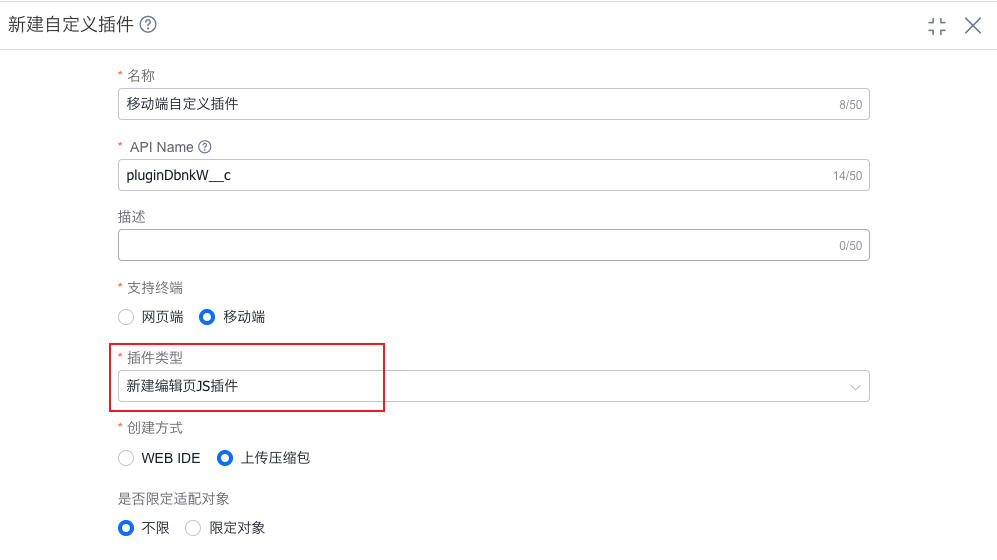
In Admin Console - Custom Development Platform - Custom Plugins, create a new custom plugin. Select Create/Edit Page JS Plugin as the plugin type and Upload ZIP Package as the creation method. Compress the locally created plugin files and upload them. Do not compress the entire directory itself; only compress the files inside the directory.
Configure the Plugin on the Layout
In the target object's web-side create/edit layout, under Global Settings - Basic Information, select the uploaded plugin in Mobile Create/Edit Page JS Plugin, save the layout configuration, and then you can view the effect on mobile.
