

English
Quick Start
This guide uses a cart table column component replacement example to show how to create, configure, and verify an OrderPass cart JS plugin.
Create a Custom Plugin
Log in to the admin console of Fenxiang Sales.
In the left navigation, click Admin Console -> Custom PWC Plugin to open the custom plugin management page.
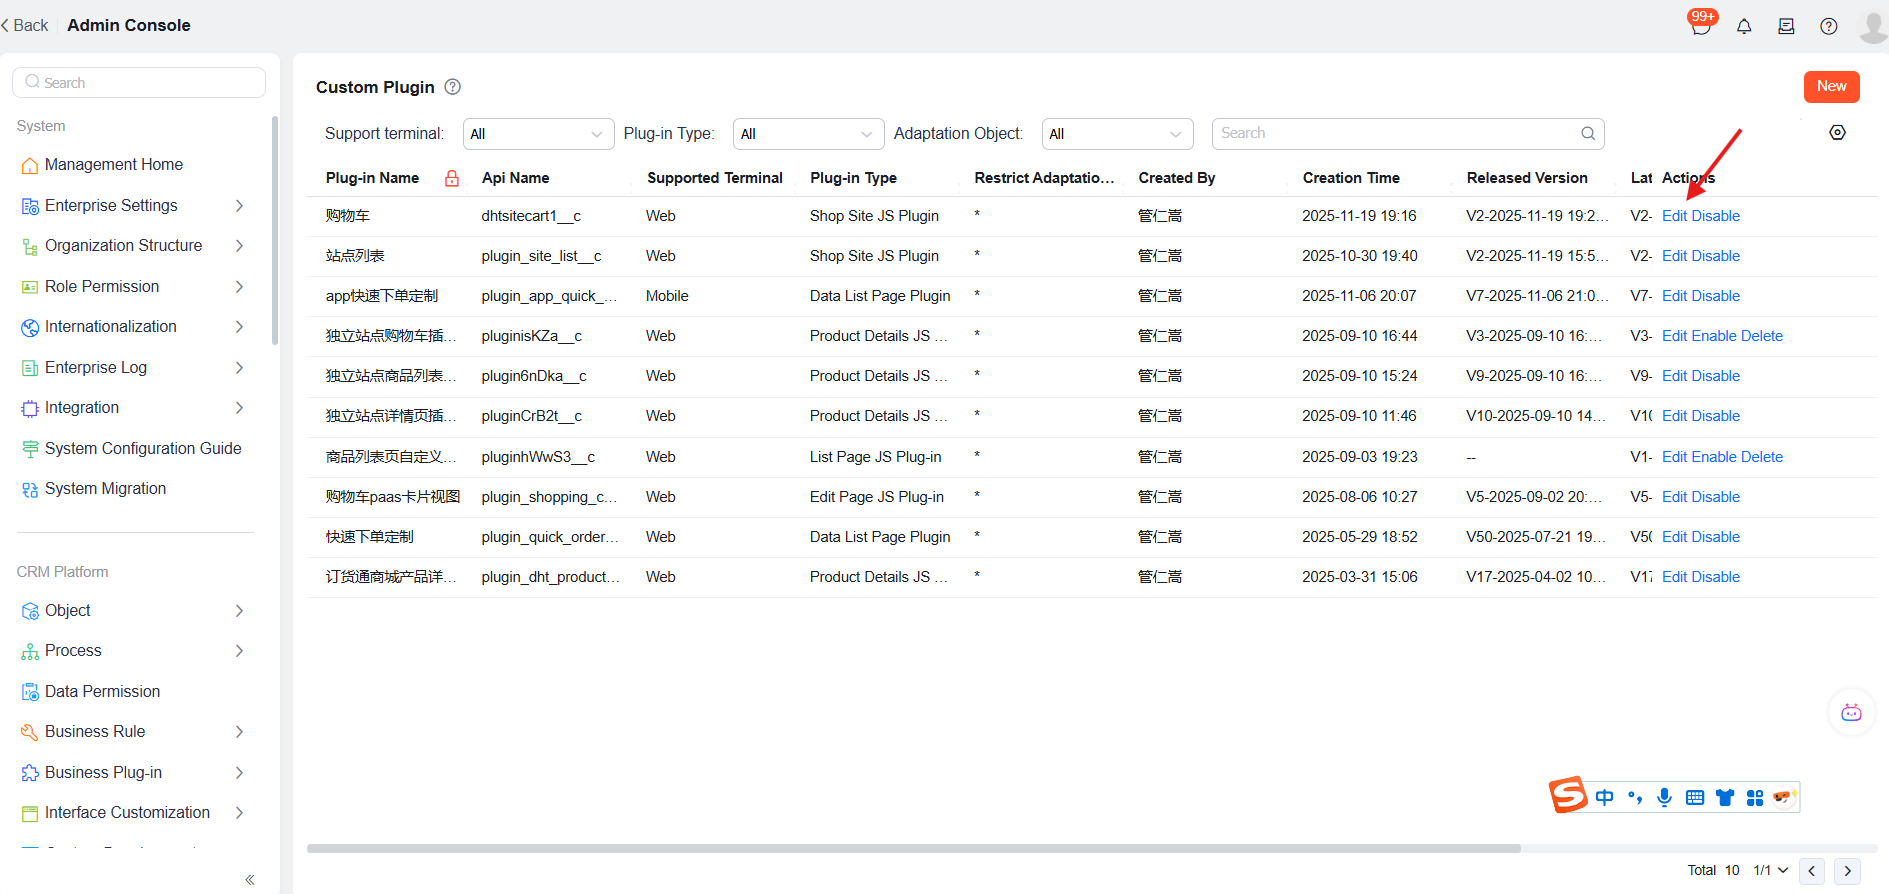
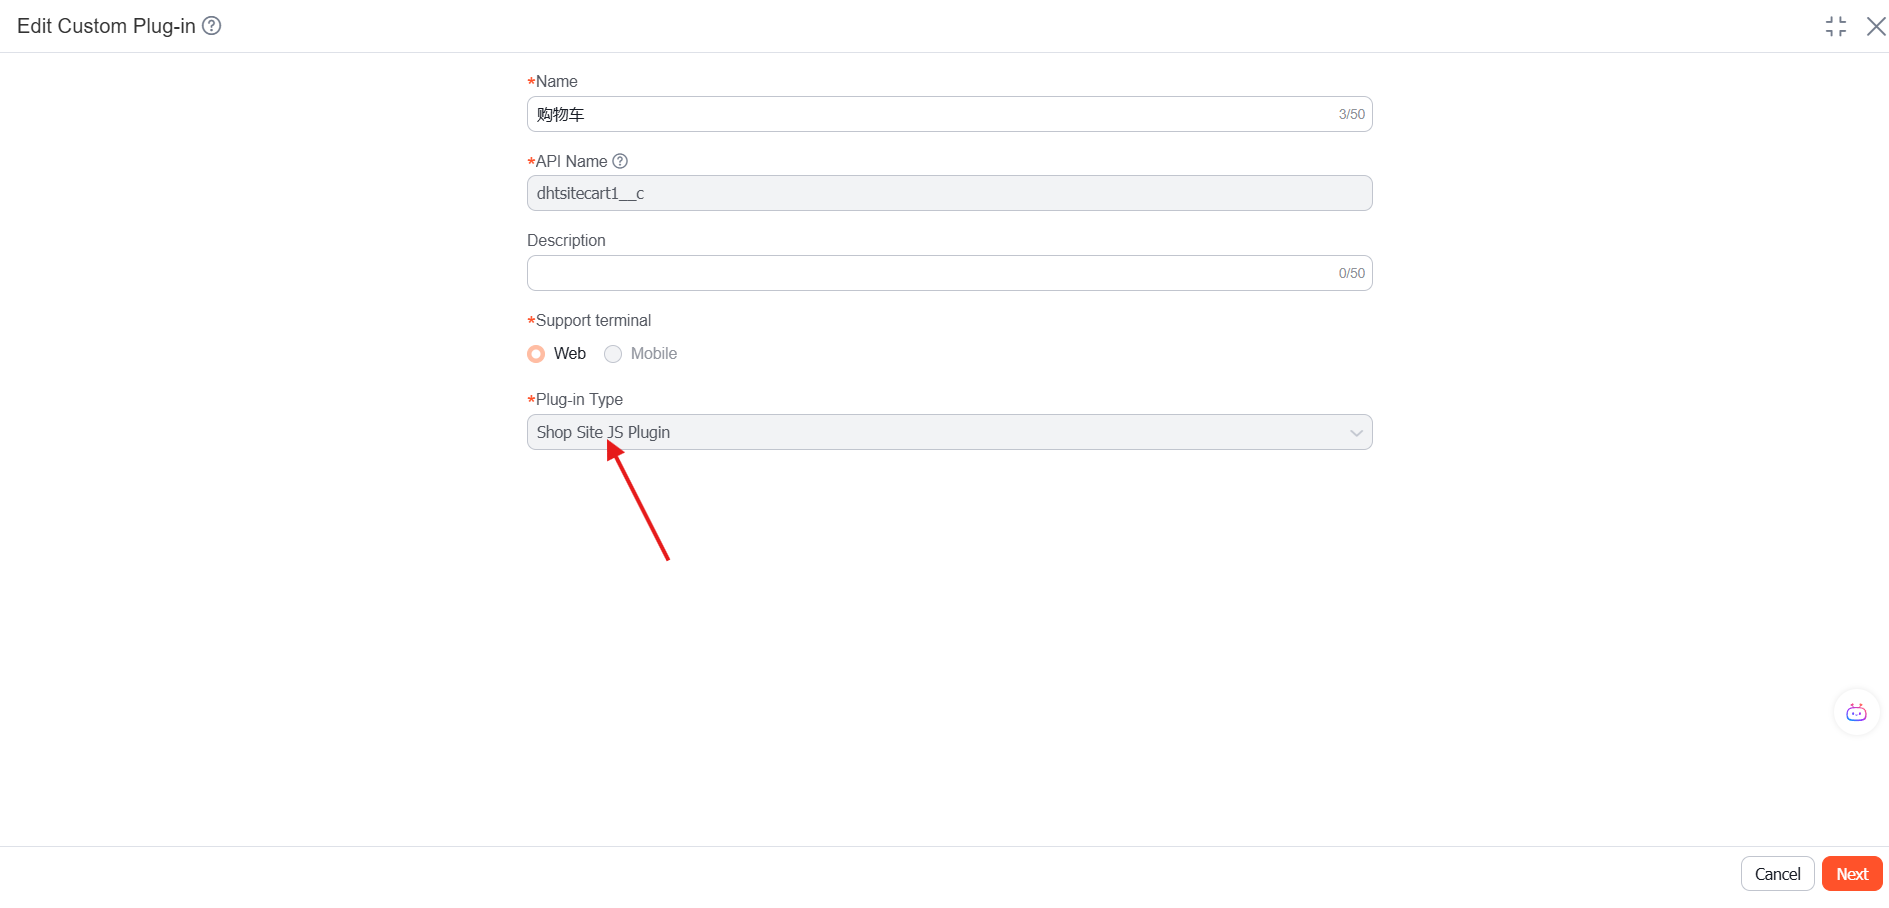
Click New, fill in Name, Supported Terminal, and Plugin Type, select Mall Site JS Plugin, click Next, use the Empty Template, import the required code files, select the entry file, and click Publish.
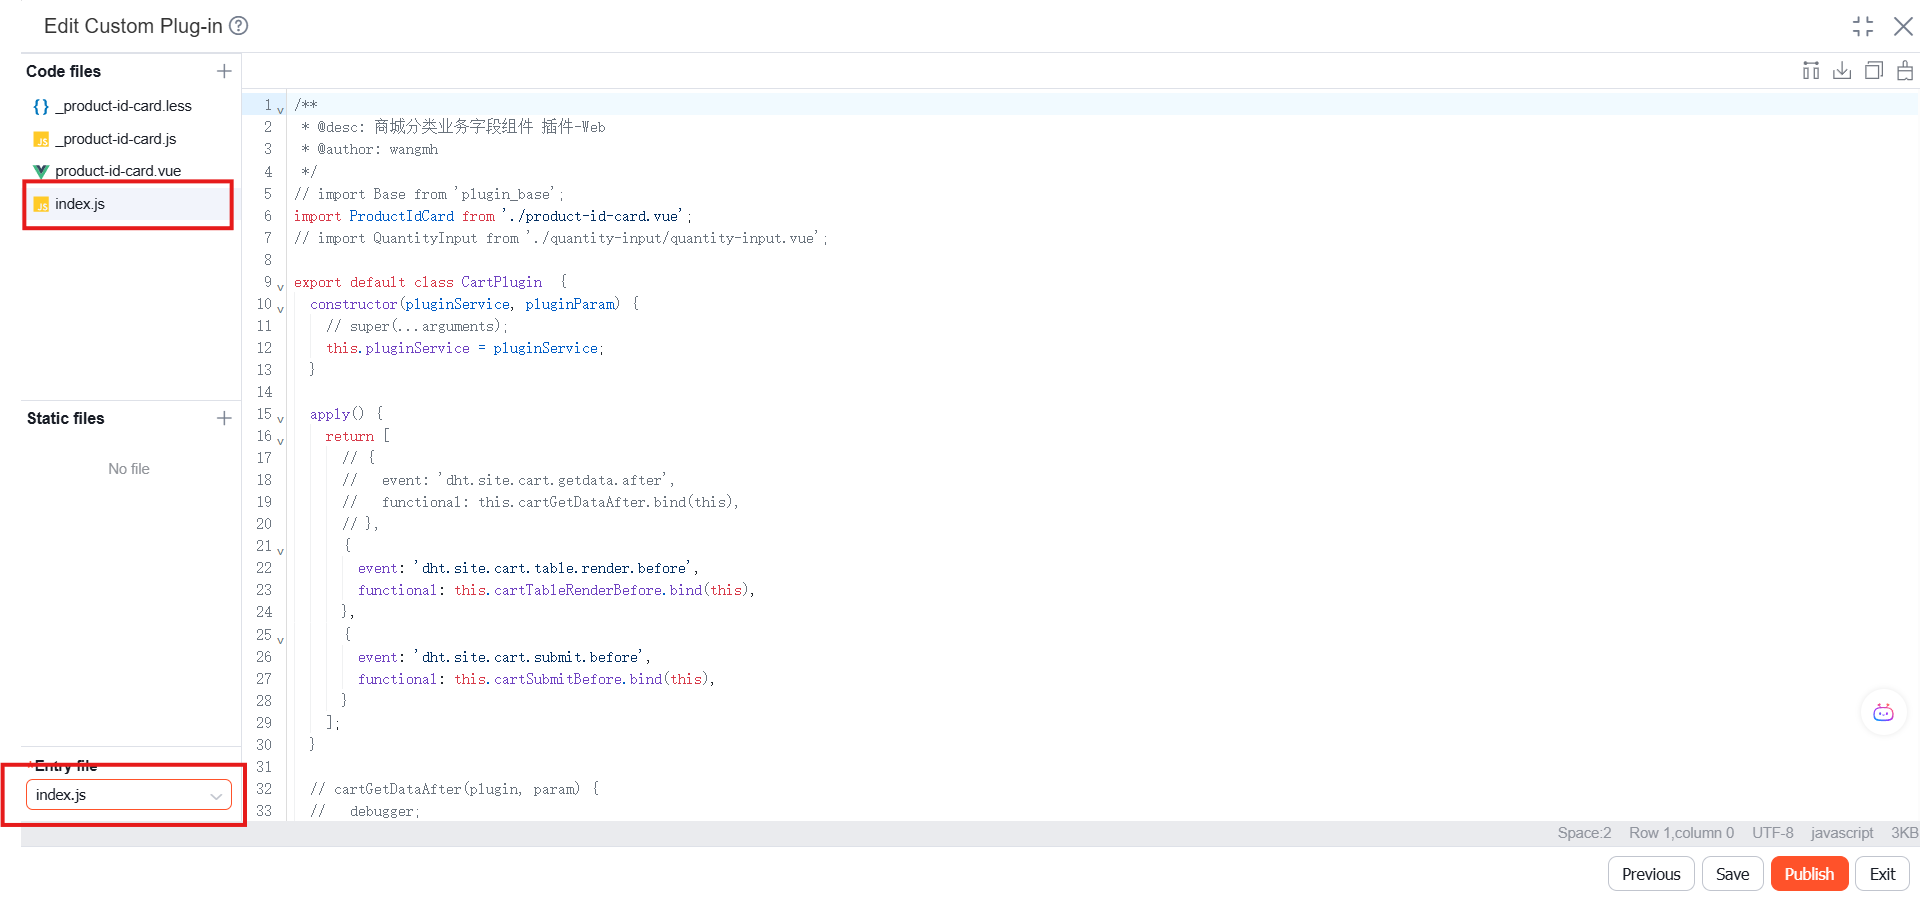
index.js:
import ProductIdCard from "./product-id-card.vue";
// import QuantityInput from "./quantity-input/quantity-input.vue";

export default class CartPlugin {
    constructor(pluginService, pluginParam) {
        this.pluginService = pluginService;
    }

    apply() {
        return [
            {
                event: "dht.site.cart.table.render.before",
                functional: this.cartTableRenderBefore.bind(this),
            },
            {
                event: "dht.site.cart.submit.before",
                functional: this.cartSubmitBefore.bind(this),
            }
        ];
    }

    cartTableRenderBefore(plugin, param) {
        const columnRenders = {
            product_id: {
                render: ProductIdCard
            },
            subtotal: {
                render: function(cellValue, trData) {
                    let reduceSpan = "";
                    const dynamicAmount = trData.policy_dynamic_amount;
                    if (dynamicAmount && +dynamicAmount && trData.is_giveaway !== "1") {
                        const decimalPlaces = cellValue.toString().split(".")[1]?.length || 2;
                        reduceSpan = `<div class="gray-label">${$t("crm.order_settlement.total_subtraction")}${Math.abs(dynamicAmount).toFixed(decimalPlaces)}</div>`;
                    }
                    return `<div class="price-field">${cellValue}</div>${reduceSpan}`;
                }
            }
        };

        const columnWidthConfig = {
            product_id: 430,
            quantity: 200,
            subtotal: 150
        };

        const resetFields = {
            product_id: {
                is_readonly: true,
            },
            quantity: {
                is_readonly: true,
            }
        };

        return { columnRenders, columnWidthConfig, resetFields };
    }

    async cartSubmitBefore(plugin, param) {
        const { masterData, mdData } = param;
        console.log("cartSubmitBefore", masterData, mdData);
        // return Promise.reject("test");
        // plugin.skipPlugin();
    }

    destroy() {}
}
product-id-card.vue:
<template>
<div class="product-id-card">
    <div v-if="templateData.img_show === '1'" class="product-id-card-img">
        <img :src="imageUrl" alt="">
    </div>
    <div class="product-id-card-content">
        <div class="product-id-card-content-title">
            <span v-if="isGift" class="product-id-card-gift-tag">{{$t('Gift')}}</span>
            <span v-html="cellData.cellValue"></span>
        </div>
        <div v-if="showFields.length > 0" class="product-id-card-fields">
            <div v-for="field in showFields" :key="field.api_name" class="product-id-card-field">
                <span class="product-id-card-field-label">{{ field.label }}:</span>
                <span class="product-id-card-field-value" style="color:red" :title="field.value">{{ field.value }}</span>
            </div>
        </div>
    </div>
</div>
</template>

<script src="./_product-id-card.js"></script>
Configure the Custom Plugin
Go to Order Management -> Mall Settings -> Independent Site, and open the Web Site page.
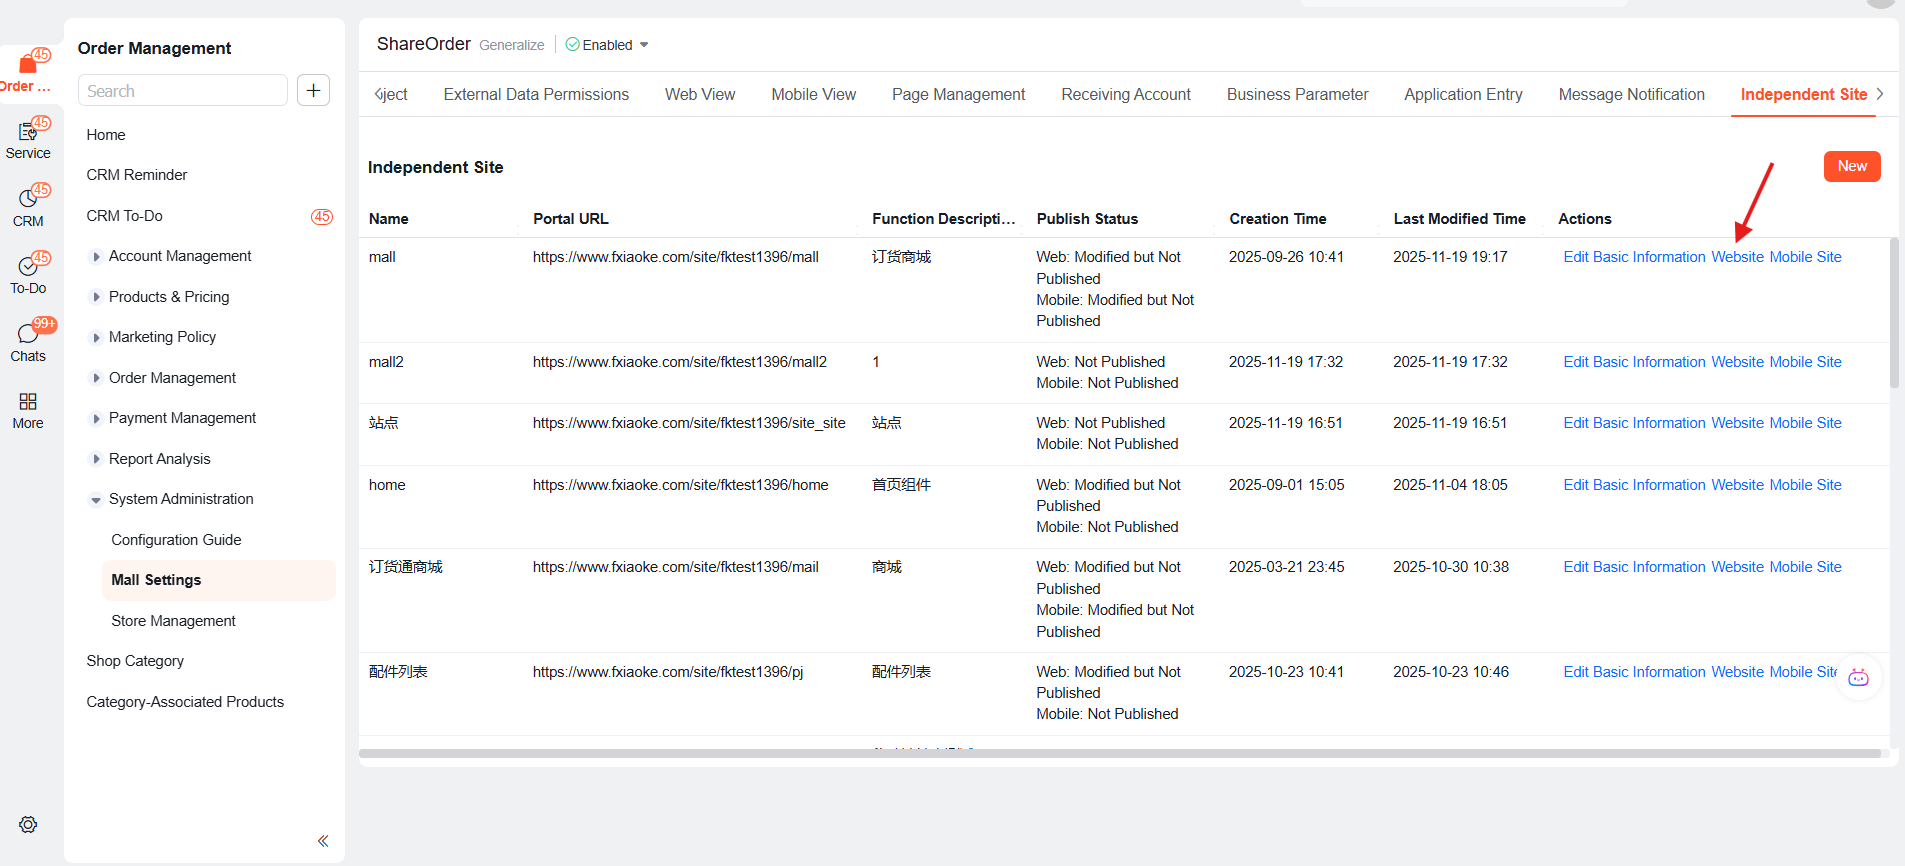
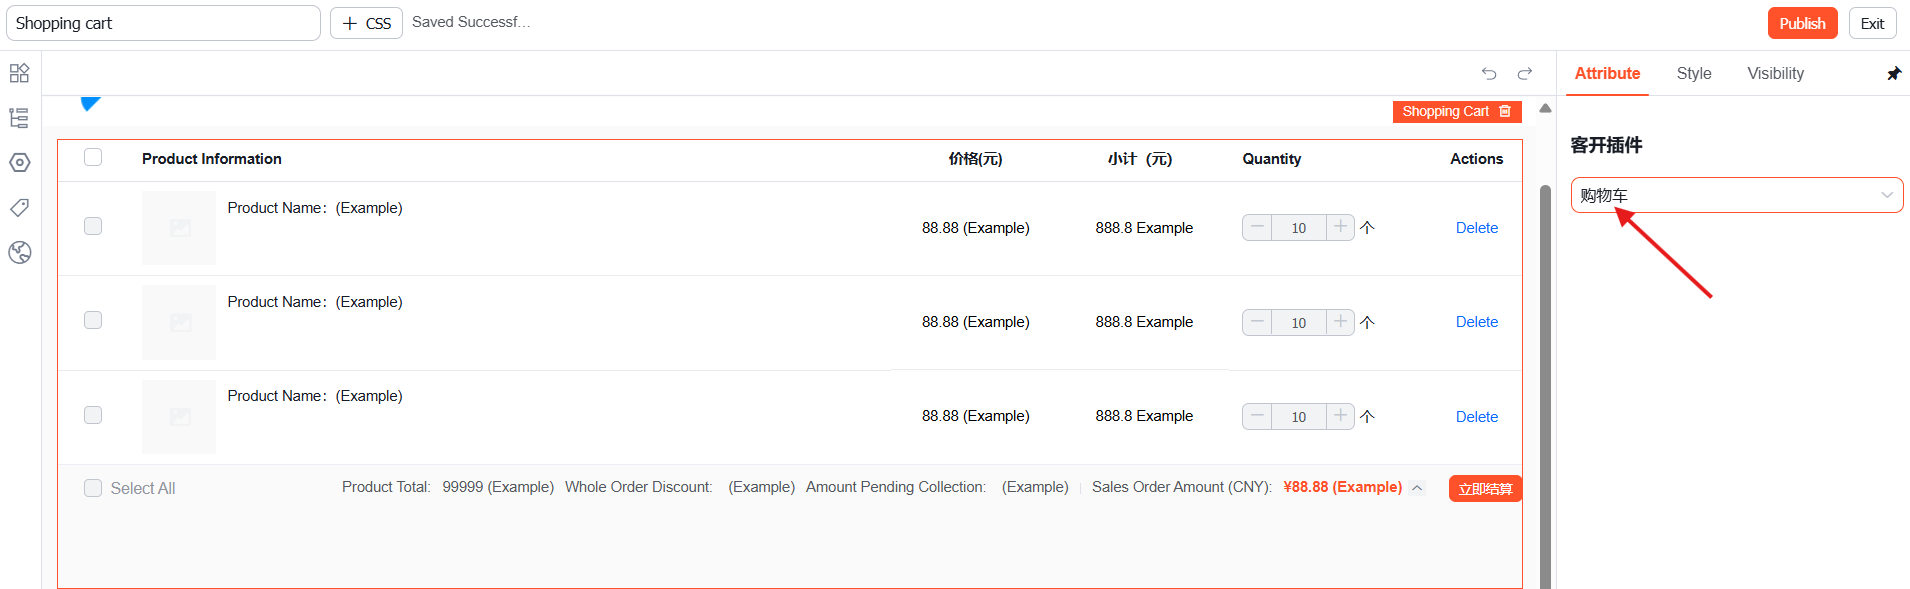
Click the outer Cart Container, select the published JS plugin in Custom Plugin on the right panel, and save.
Verify the Result
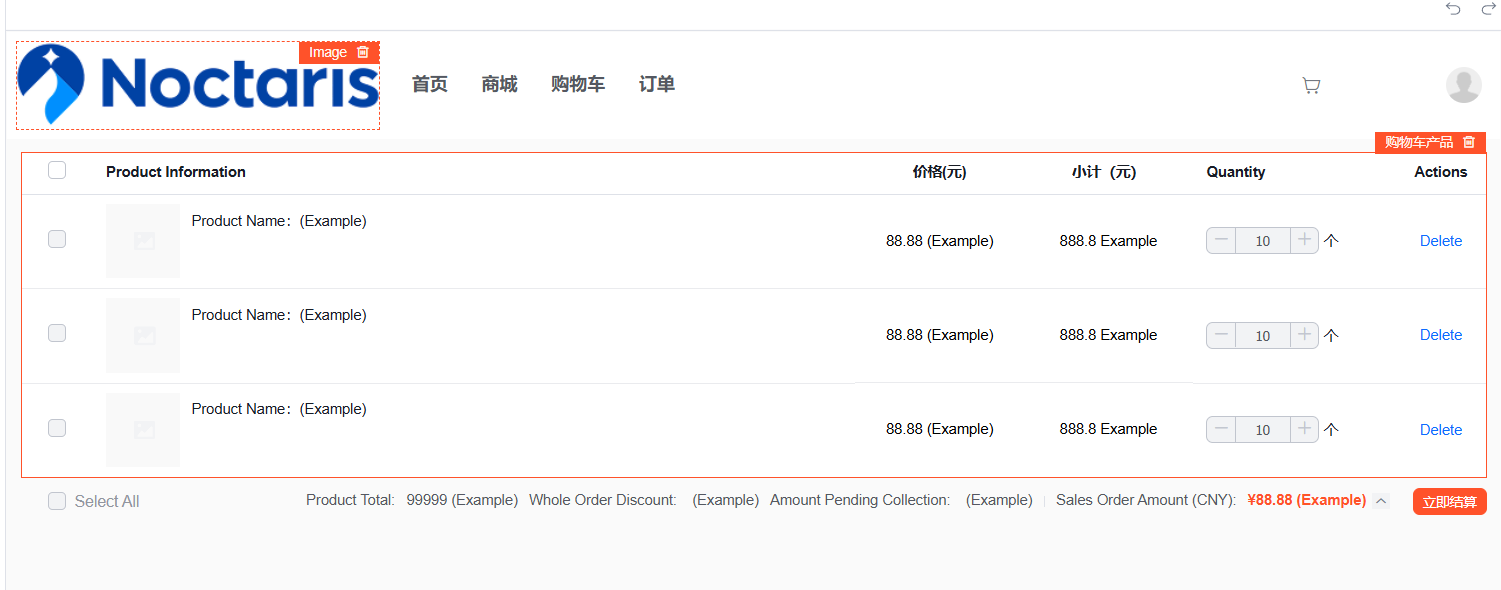
Open the downstream OrderPass cart page to verify the cart data, table column, or submission behavior extensions.
Events
| Event | Description |
|---|---|
| dht.site.cart.plugin.init.after | Runs global initialization logic after the plugin system is initialized |
| dht.site.cart.getdata.after | Adds, modifies, deletes, or filters cart data after cart data is obtained |
| dht.site.cart.table.render.before | Replaces column components, configures column widths, or customizes column behavior before table rendering |
| dht.site.cart.submit.before | Validates, modifies, or intercepts order submission before cart submission |