

English
Quick Start
This guide uses a product name component replacement example to show how to create, configure, and verify an OrderPass product detail JS plugin.
Create a Custom Plugin
Log in to the admin console of Fenxiang Sales.
In the left navigation, click Custom Development Platform -> Custom Plugin to open the custom plugin management page.
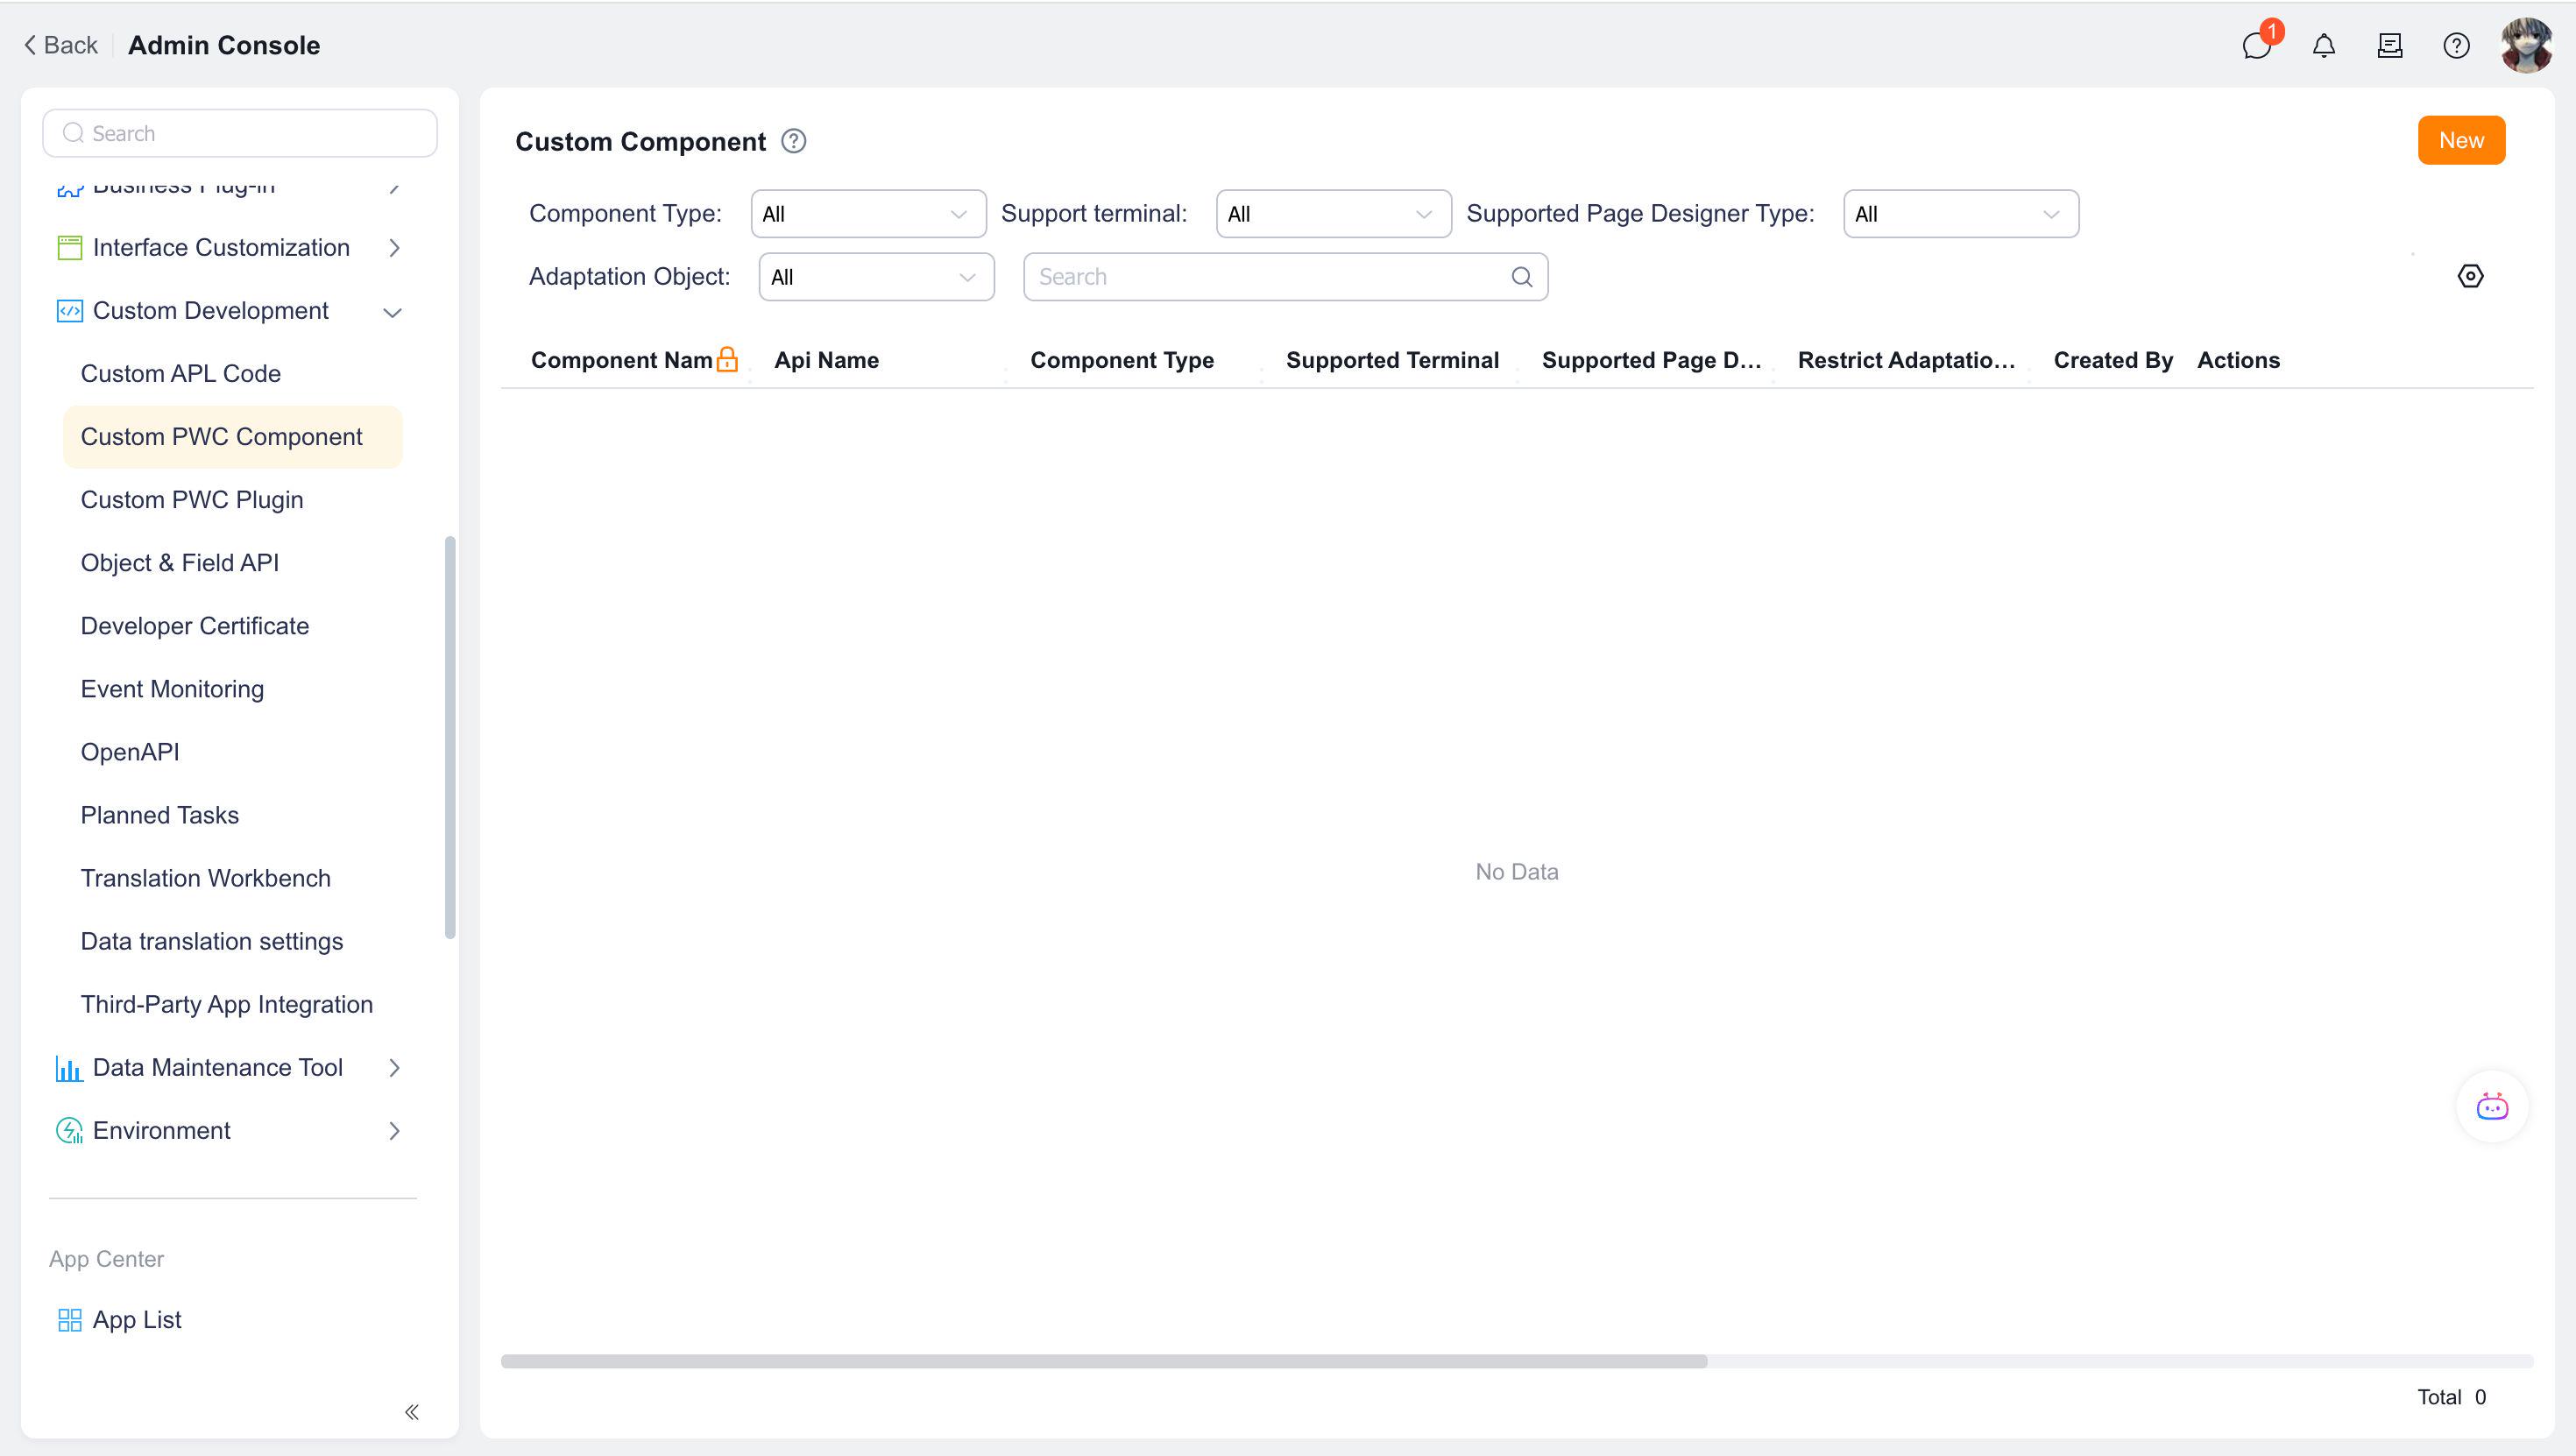
Click New, fill in Name, Supported Terminal, and Plugin Type, click Next, use the Empty Template, create code files, paste the following code, select the entry file, and click Publish.
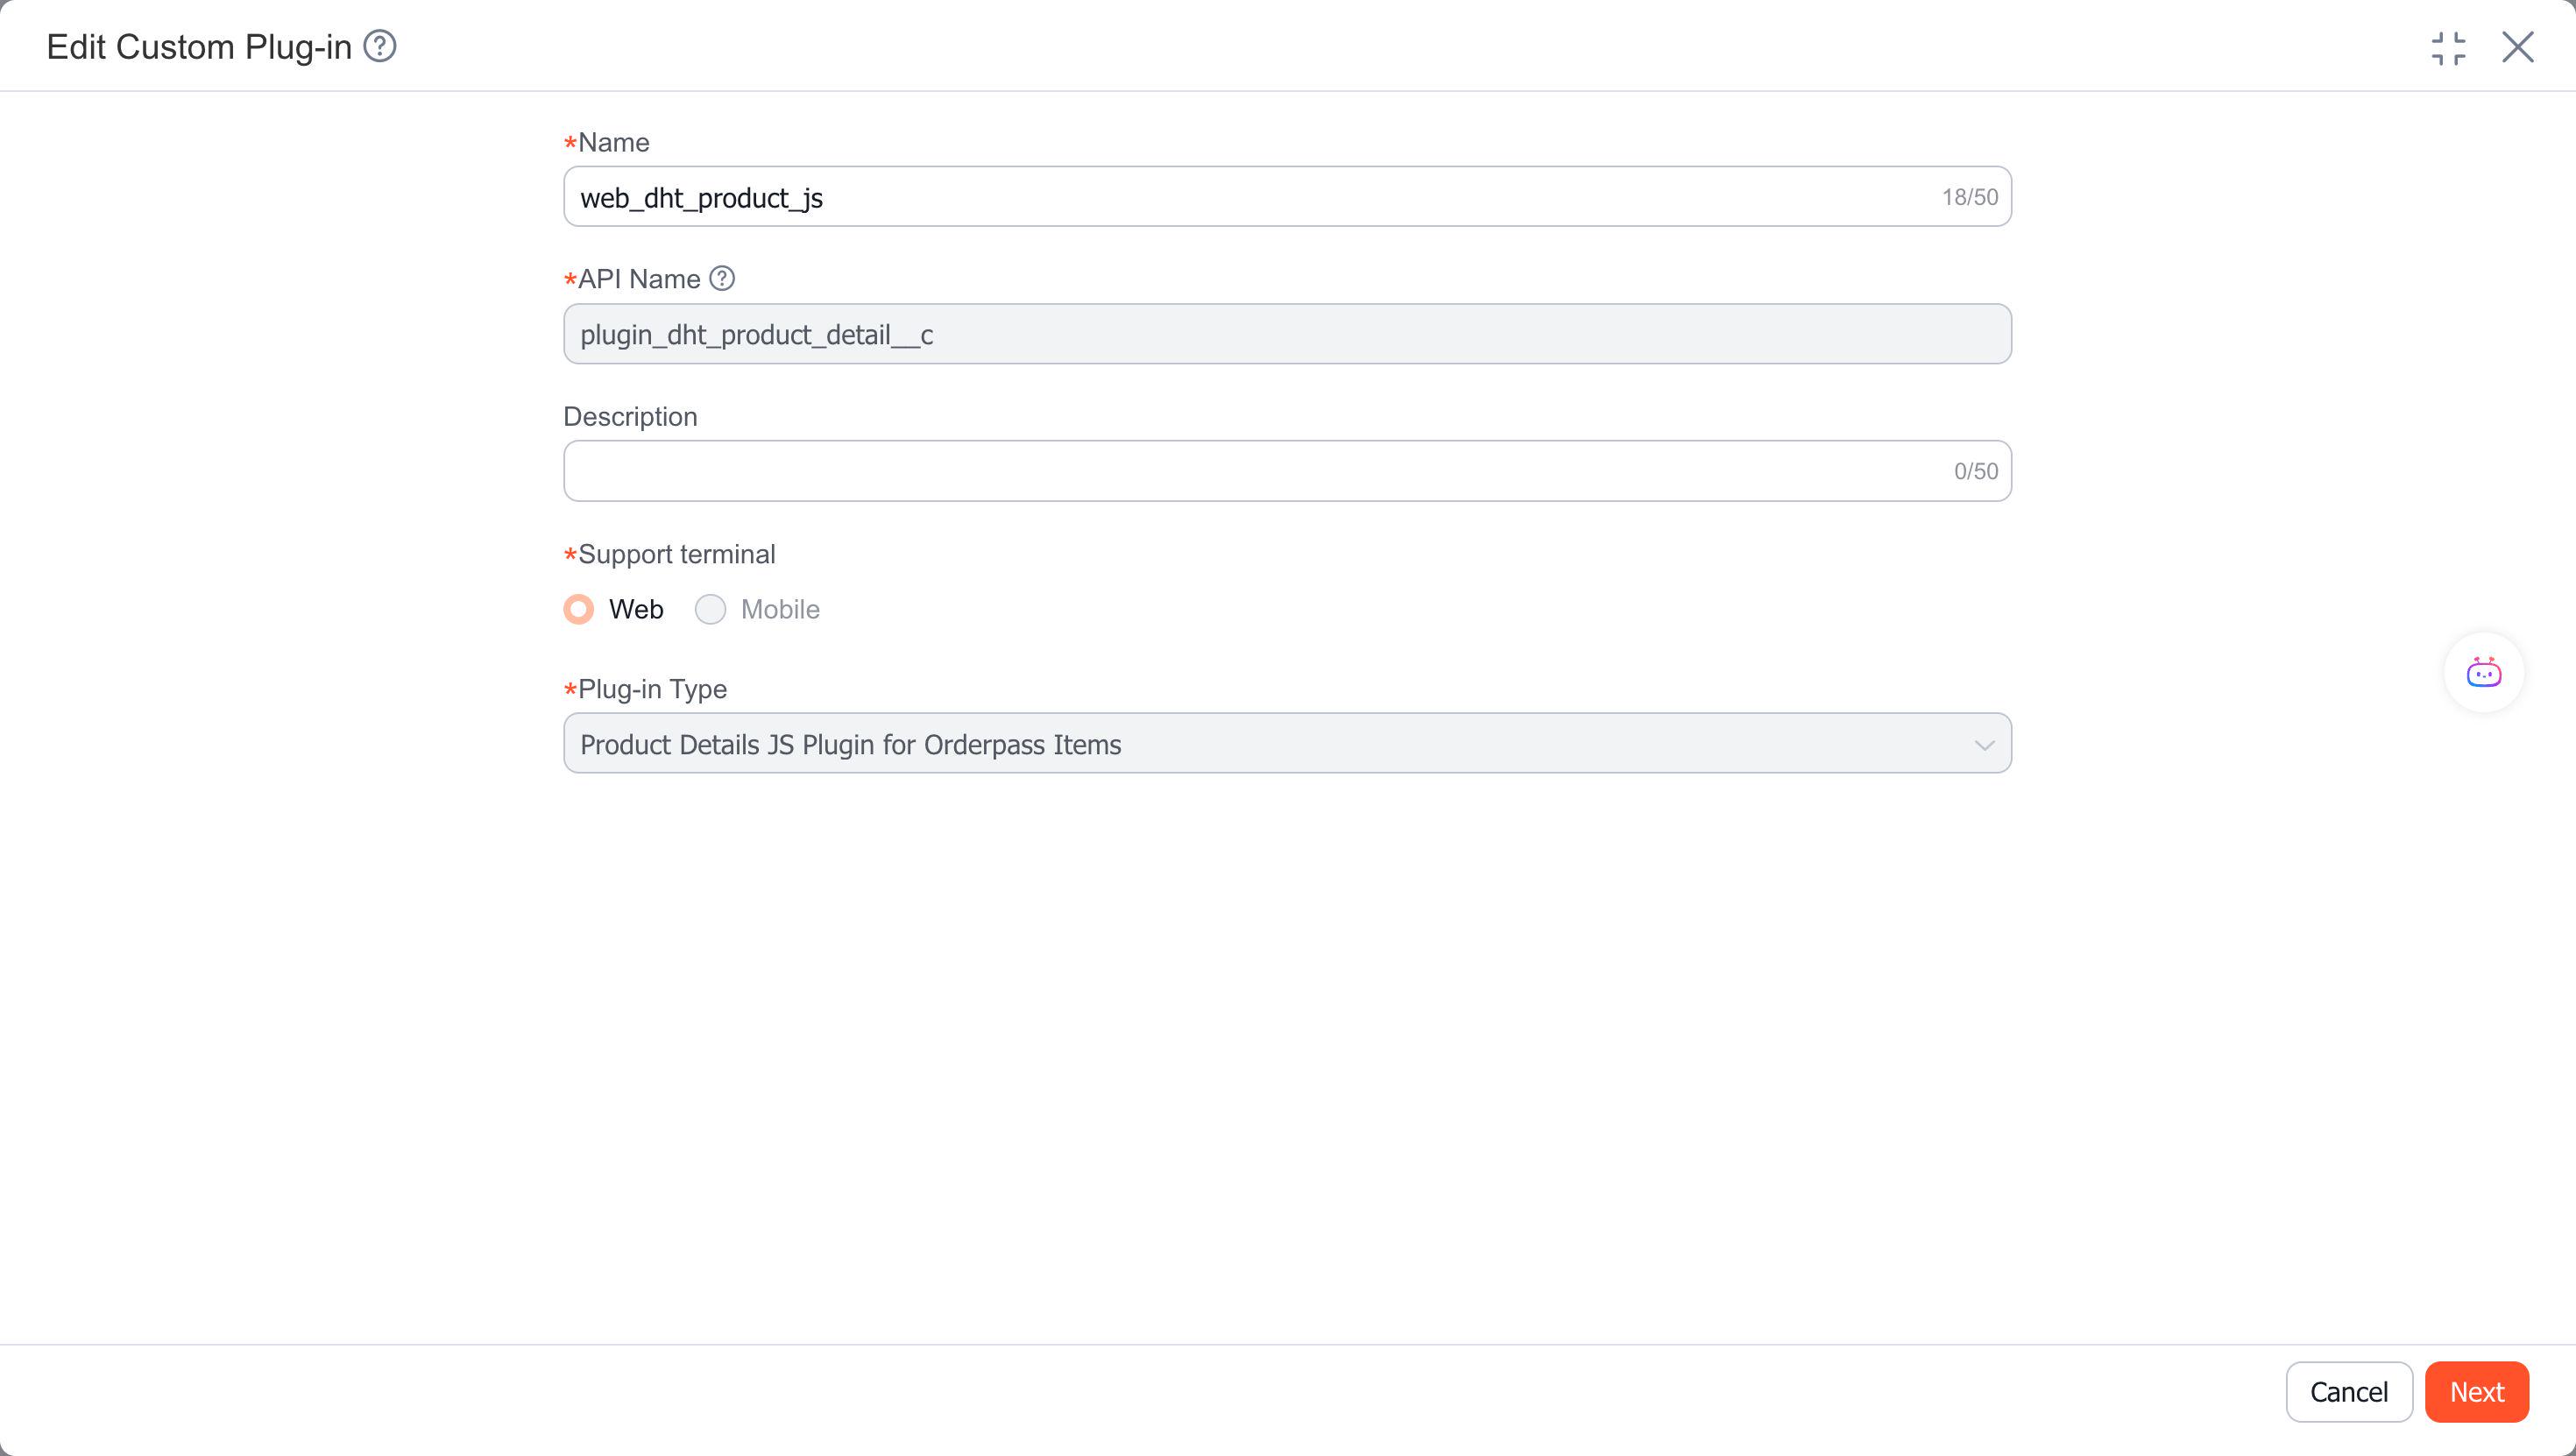
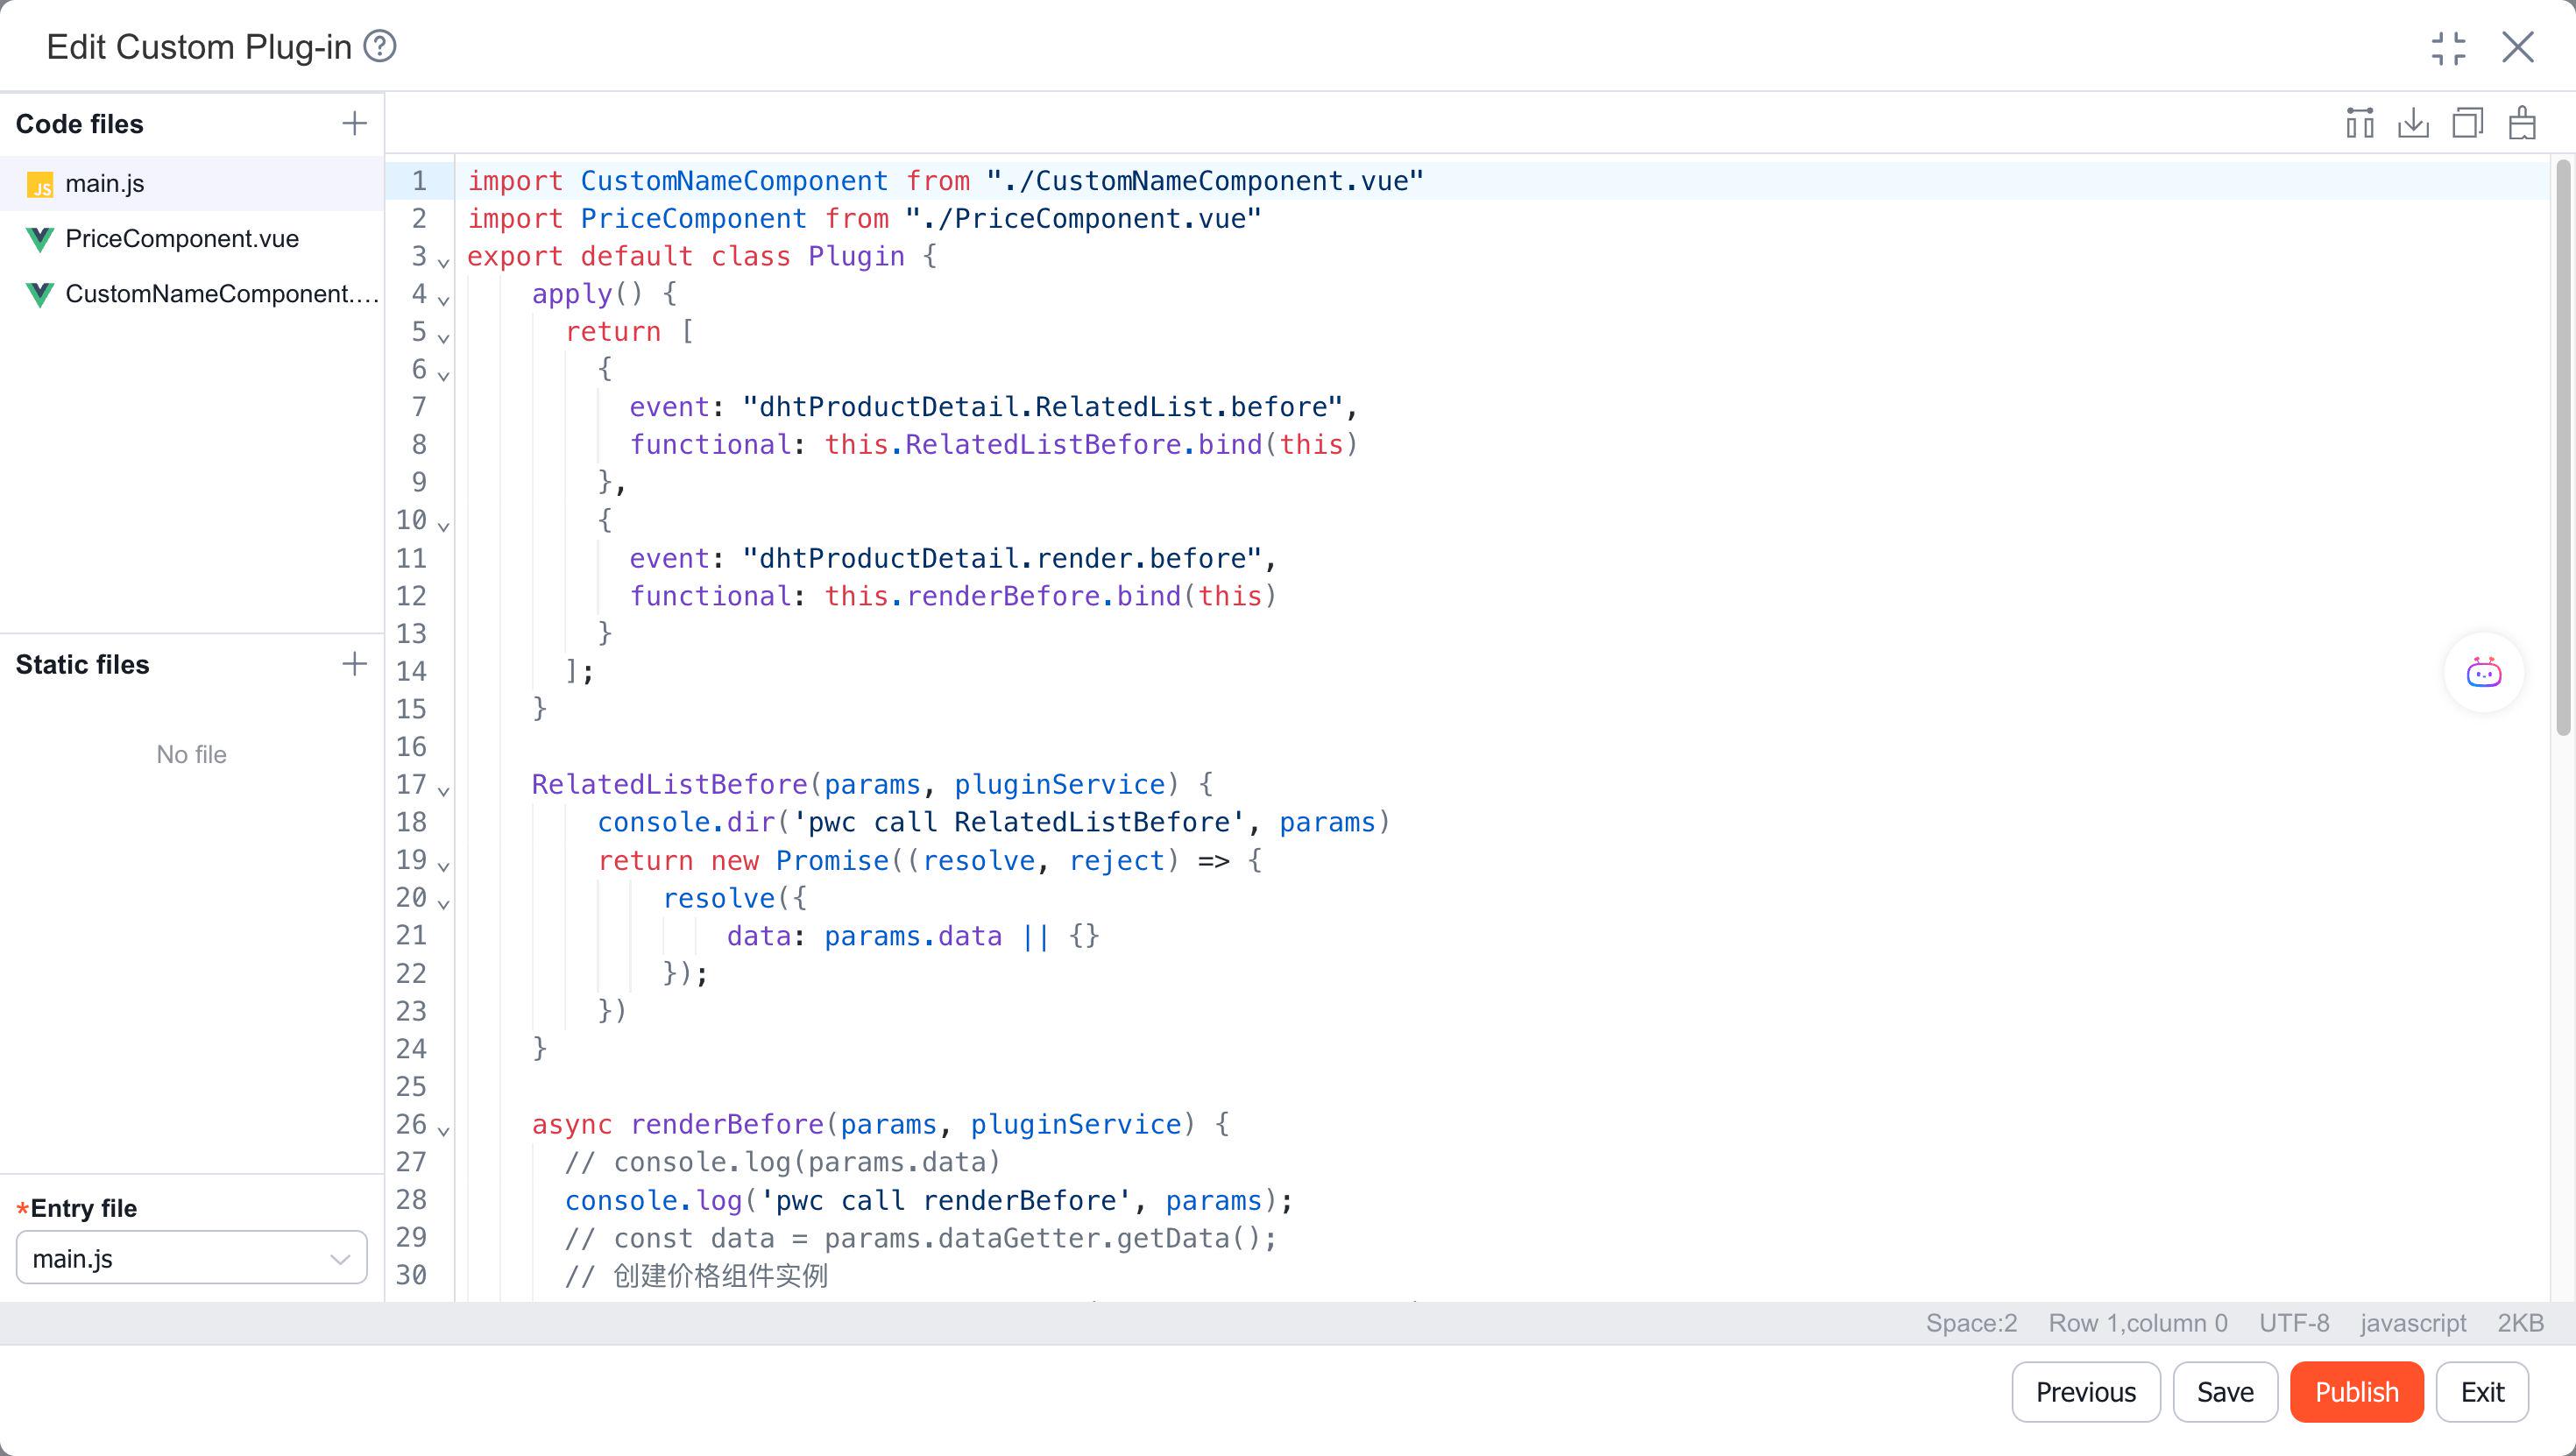
main.js:
import CustomNameComponent from "./CustomNameComponent.vue"
// import PriceComponent from "./PriceComponent.vue"

export default class Plugin {
    apply() {
        return [
            {
                event: "dhtProductDetail.RelatedList.before",
                functional: this.RelatedListBefore.bind(this)
            },
            {
                event: "dhtProductDetail.RelatedList.after",
                functional: this.RelatedListAfter.bind(this)
            },
            {
                event: "dhtProductDetail.render.before",
                functional: this.renderBefore.bind(this)
            }
        ];
    }

    RelatedListBefore(params, pluginService) {
        console.dir("pwc call RelatedListBefore", params)
        return new Promise((resolve, reject) => {
            resolve({
                data: params.data || {}
            });
        })
    }

    RelatedListAfter(params, pluginService) {
        console.dir("RelatedListAfter", params)
        return new Promise((resolve, reject) => {
            resolve({
                data: params.data || {},
            });
        })
    }

    async renderBefore(params, pluginService) {
        // const data = params.dataGetter.getData();
        console.log("pwc call renderBefore", params);

        const NameComponent = Vue.extend(CustomNameComponent);
        const nameInstance = new NameComponent({
            propsData: {
                params
            }
        });

        nameInstance.$mount();

        return new Promise((resolve, reject) => {
            resolve({
                // Components that can be hidden:
                // name: name, including tags
                // price: price
                // policy: price policy
                // operate: operation buttons
                // quantity: quantity, only for SPU
                // main: main product image
                // meta: product introduction
                // richtext: rich text details
                hide: ["name", "quantity"],
                components: {
                    /*
                     * Supported append positions. Use with hide to replace components:
                     * pageTop: top of the detail page, below Previous and Next
                     * name: below name
                     * price: below price
                     * policy: below price policy
                     * quantity: below quantity
                     * operate: below operation area
                     * main: below main image
                     * meta: below product introduction
                     * richtext: below rich text details
                     * pageBottom: bottom of the detail page
                     */
                    name: nameInstance,
                }
            })
        })
    }
}
CustomNameComponent.vue:
<template>
<div class="test-container">
    <div style="background-color: yellow; color: red; padding: 10px; font-size: 16px;">
        Name component replacement: {{ testName }}
    </div>
</div>
</template>

<script>
export default {
    props: {
        params: {
            type: Object,
            default: () => {}
        }
    },
    data() {
        return {
            testName: "pwc component name"
        }
    },
    mounted() {
        // const data = this.params.dataGetter.getData();
        // console.log(data);
        // this.testName = JSON.stringify(data);
    }
}
</script>
Configure the Custom Plugin
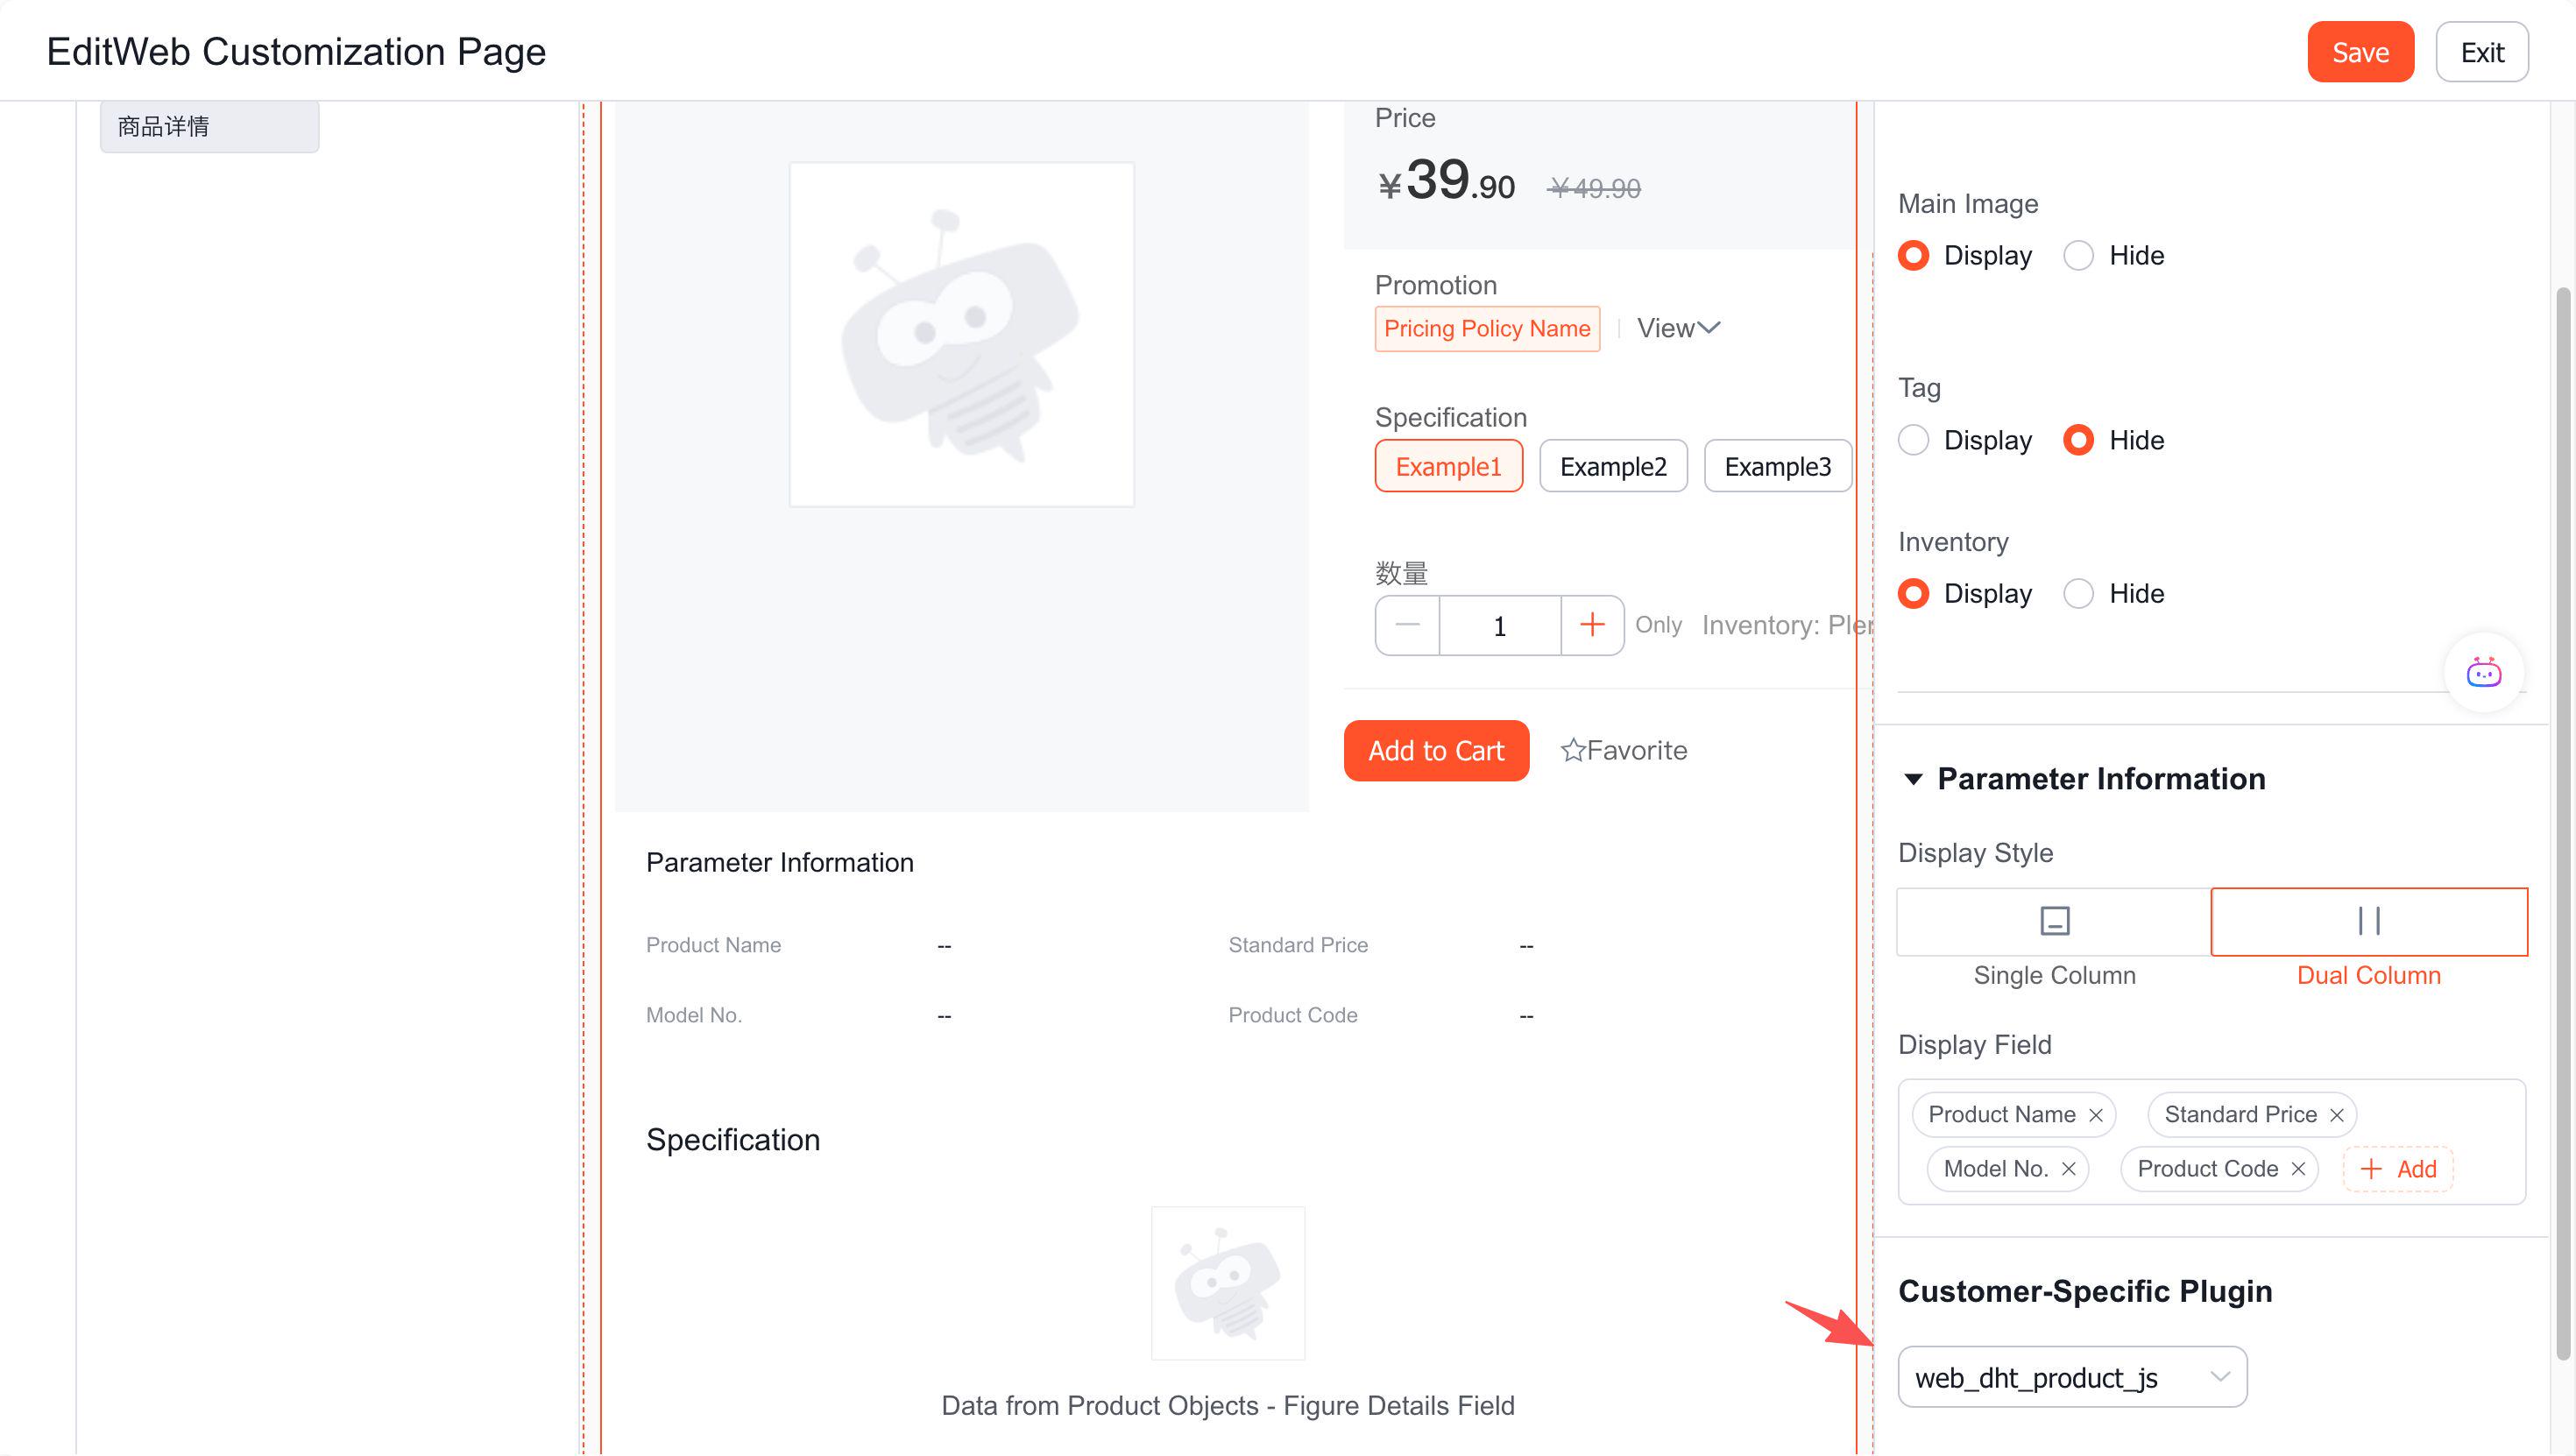
Go to Order Management -> Mall Settings -> Page Management -> Web Custom Page -> Product Detail, and open the edit page.
Click the Product Detail component in the center area, select the published JS plugin in Custom Plugin on the right panel, and save.
Verify the Result
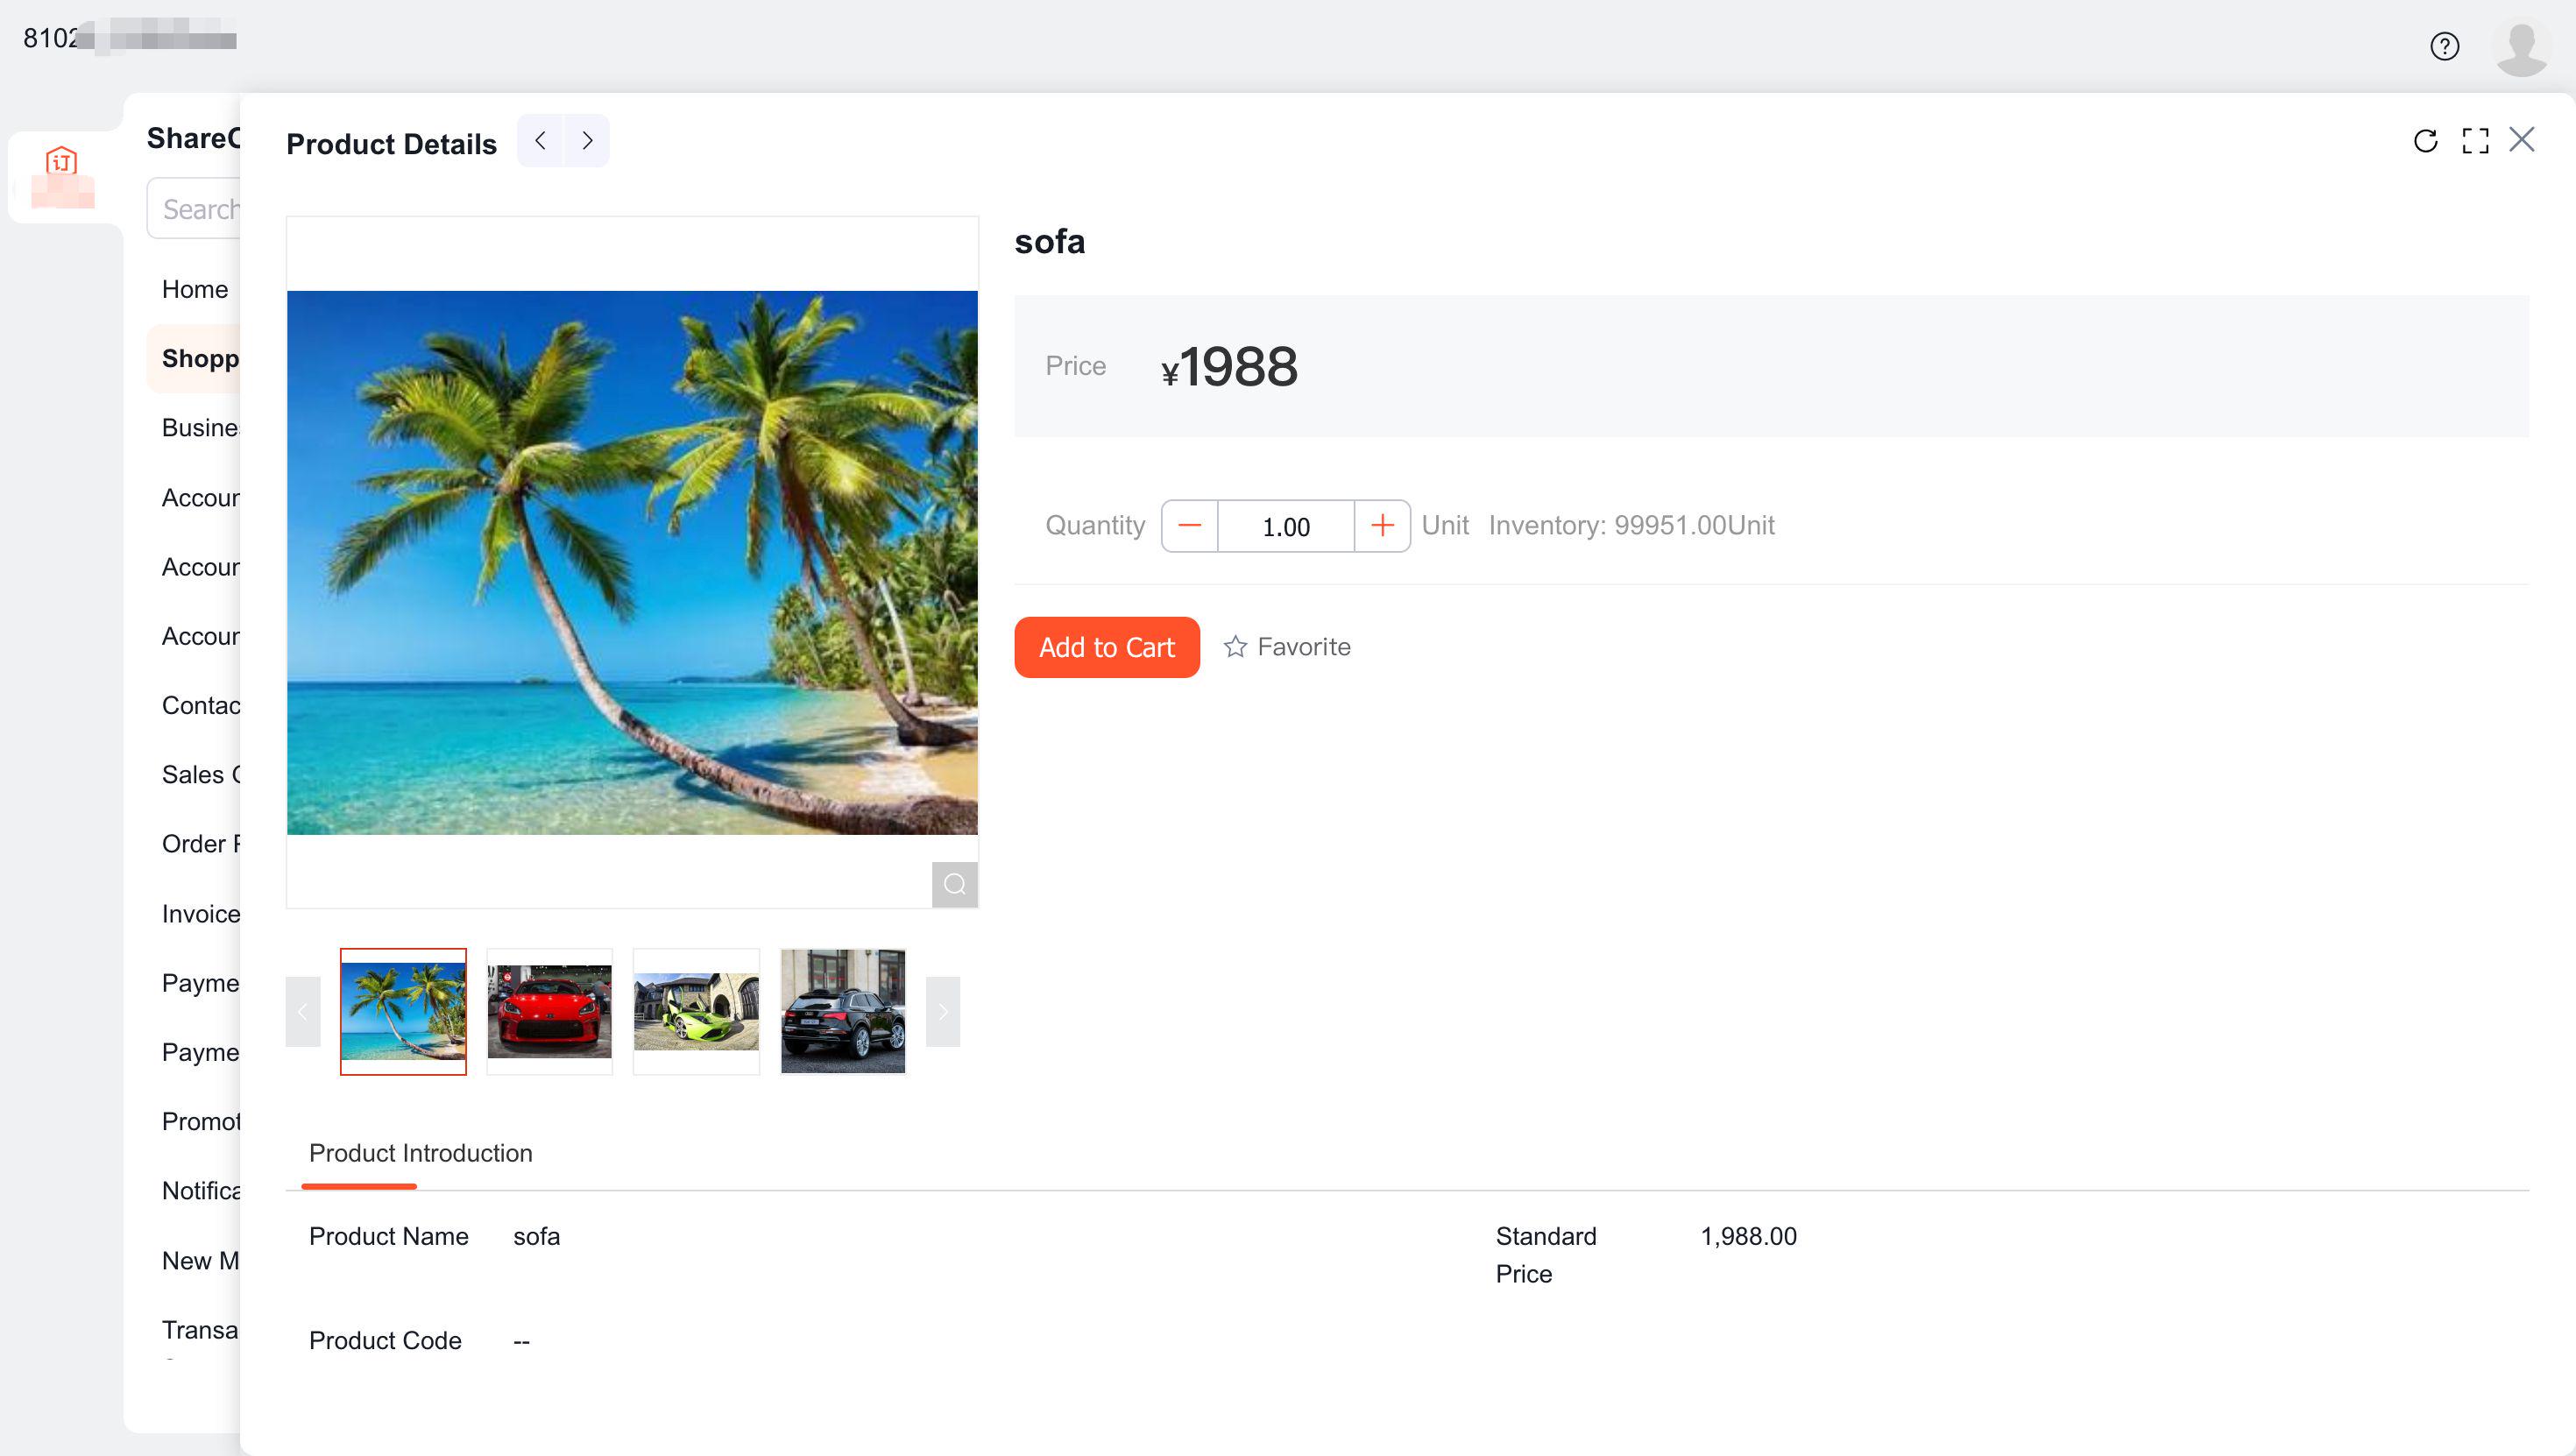
Open the downstream OrderPass product detail page to verify the hidden, replaced, or appended components.
Events
| Event | Description |
|---|---|
| dhtProductDetail.RelatedList.before | Passes extra custom parameters to the product detail RelatedList API |
| dhtProductDetail.RelatedList.after | Processes the response data returned by the product detail RelatedList API |
| dhtProductDetail.render.before | Hides, replaces, or inserts components before the product detail page renders |